
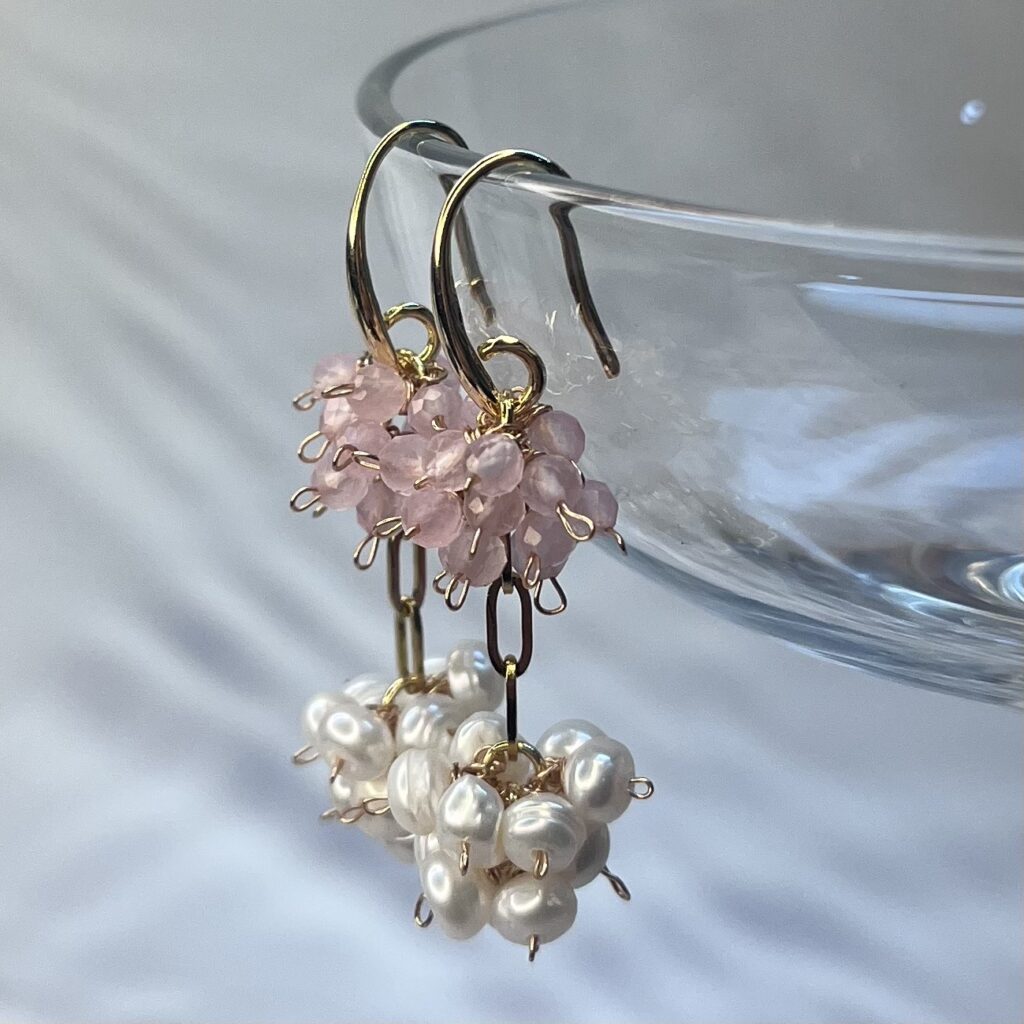
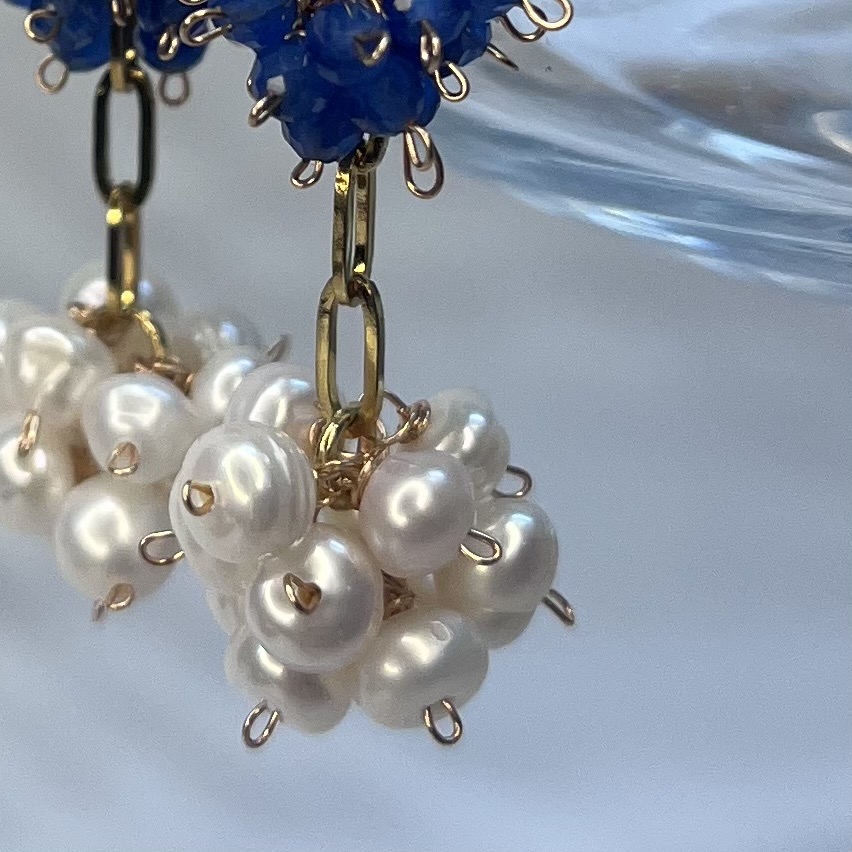
Jewellery is one of the hardest product categories to photograph well. The pieces are small, often reflective, and the details that make them worth buying — texture, finish, the way light catches a stone or a brass surface — are exactly what a bad photograph flattens out and loses.
The good news is that jewellery photography has become considerably more accessible as smartphone cameras have improved. You don’t need a professional studio setup to get images that sell. You need good light, a clean background, and an understanding of a few principles that apply specifically to small reflective objects.
Light is everything
The single most important variable in jewellery photography is light quality. Harsh direct light — a flash, a bright overhead bulb, direct midday sunlight — creates hard shadows and blows out reflective surfaces. The result is photographs where the piece looks flat or washed out, with none of the three-dimensional quality that makes jewellery appealing.
The best light for jewellery photography is diffused natural light from a window. North-facing windows are ideal because they provide consistent, indirect light without direct sunlight. Overcast days are often better than sunny days for the same reason — clouds act as a giant diffuser.
Set up your shooting area near a window, position your pieces so the light falls across them from the side rather than directly from above or behind, and you’ll get the kind of soft, detailed images that show a piece properly.
Background choice
The background behind your jewellery should not compete with the piece. Plain white or very light grey is the standard for product photography for good reason — it’s neutral, doesn’t distort colour perception, and looks clean in an online store environment.
A sheet of white card, a piece of white foam board, or a white tile all work well. For natural material jewellery — wood, stone, shell — a light natural texture like linen or unfinished wood can work as a background and adds context without distracting.
Avoid patterned backgrounds, strongly coloured surfaces, or anything that makes the viewer’s eye compete between the background and the piece.
Shooting flat lay versus on a prop
Flat lay photography — pieces laid directly on a surface and shot from directly above — is clean and consistent, and works particularly well for earrings and bracelets where the shape of the piece is the main selling point.
Props — earring stands, ring cones, bust forms, hands — add context and help customers visualise scale and how a piece will look when worn. A combination of both styles on a product page is more informative than either alone.
If you’re photographing earrings, include at least one shot of them being worn. Scale is notoriously hard to judge from a flat lay, and customers regularly return earrings because they’re larger or smaller than expected. A worn shot eliminates that ambiguity.
Macro and detail shots
For jewellery with interesting texture, finish, or construction detail — a carved wooden surface, a clay piece with hand-painted detail, the texture of a woven bracelet — a close-up detail shot adds significant value to a product page. It signals quality and craftsmanship in a way a standard product shot can’t.
Most modern smartphones have a portrait or macro mode that works well for this. Get close enough that the detail fills the frame, make sure the focus is sharp, and the resulting image tells a story about the piece that a standard shot won’t.
Consistency across a range
Individual good photographs are less valuable than a consistent set. If your product images use different backgrounds, lighting setups, and shooting angles, the overall store looks disjointed and amateur — even if individual images are technically good.
Decide on your setup — background, light source, shooting angle — and apply it consistently across your entire range. This is more important than any individual image being perfect.
Editing
Light editing after shooting makes a significant difference. Increase brightness slightly, adjust white balance so whites look white rather than warm or cool, and increase contrast marginally to give pieces definition. Avoid heavy filtering or colour adjustments that change how the piece actually looks — customers who receive something that looks different from the photograph lose trust.
Free editing tools including Lightroom Mobile and Snapseed handle all of this on a phone without needing desktop software.
Good photography and good in-store display work off the same instincts. How to Stock a Jewellery Display for Maximum Sales carries the same thinking into your physical space, and our wholesale page has the details if you’re building out a new range to shoot.